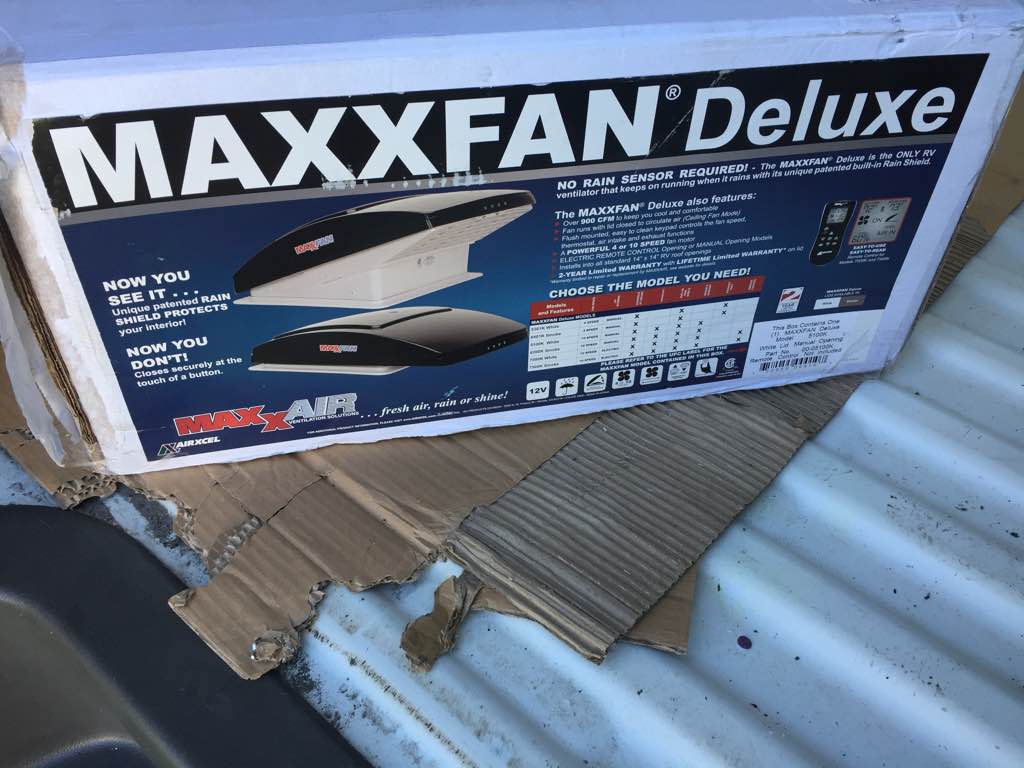
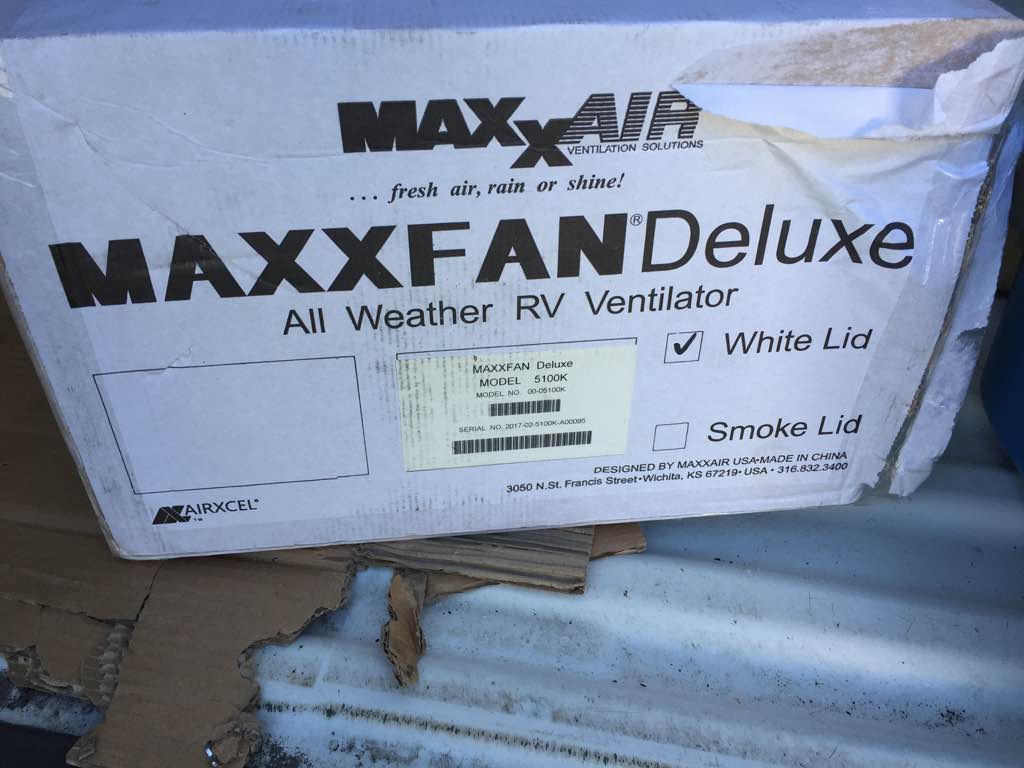
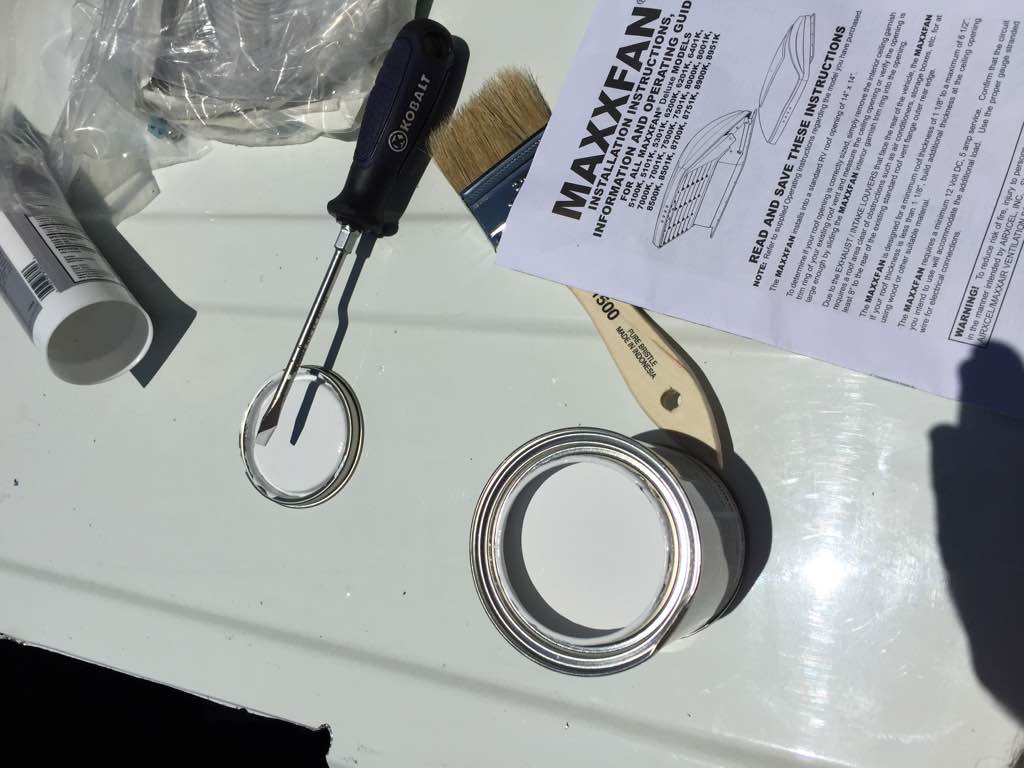
After reading plenty of reviews about specific fans I decided to go with the Maxxair Dexlue 5100K, from what I’ve been able to gather there only difference between it and the higher Maxxair modesl is that it is manual and comes in white instead of smoke.
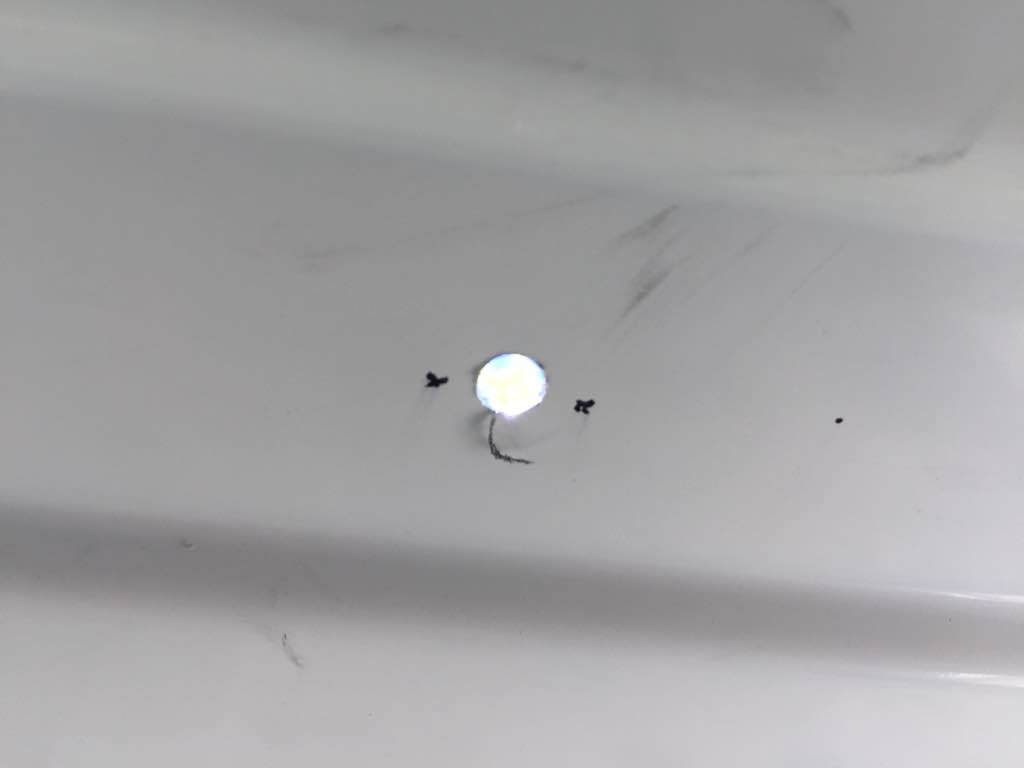
After measuring the middle point, from where I would measure 7” to each side and cut the roof hole, I marked it and made a hole in the ceilng using a drill.
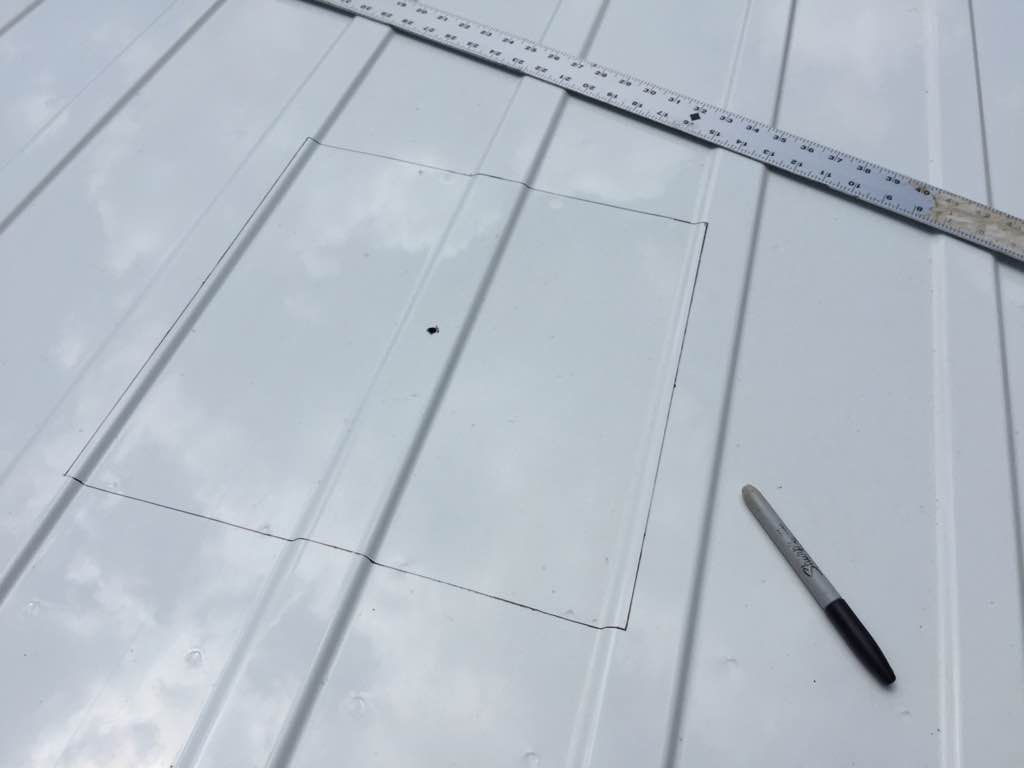
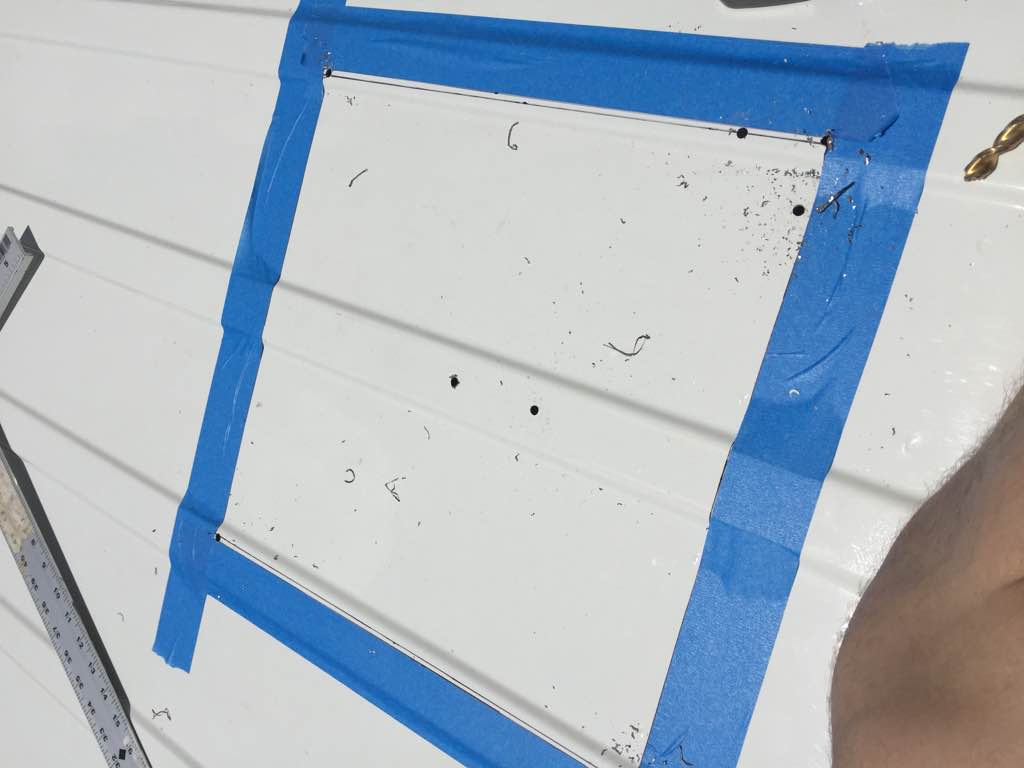
I then when on to the roof and measured 7” from each side of the middle point and drew a 14” x 14” square to cut out. I covered the square outline with some painters tape and drilled a hole in each corner of the square for the jigsaw.
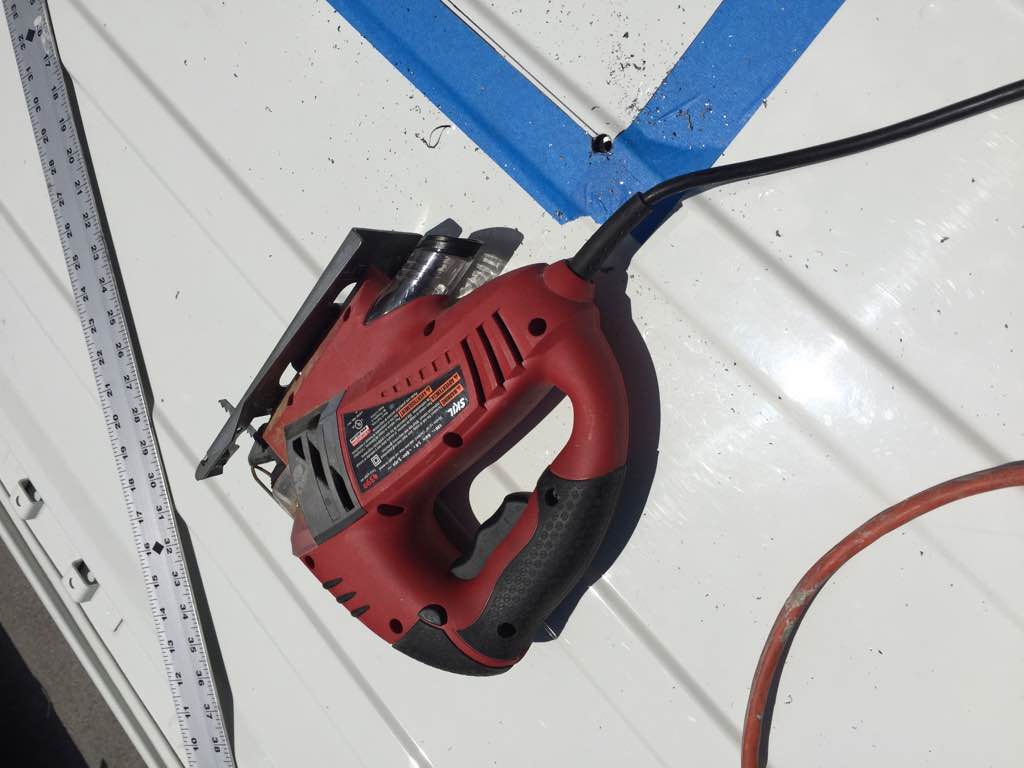
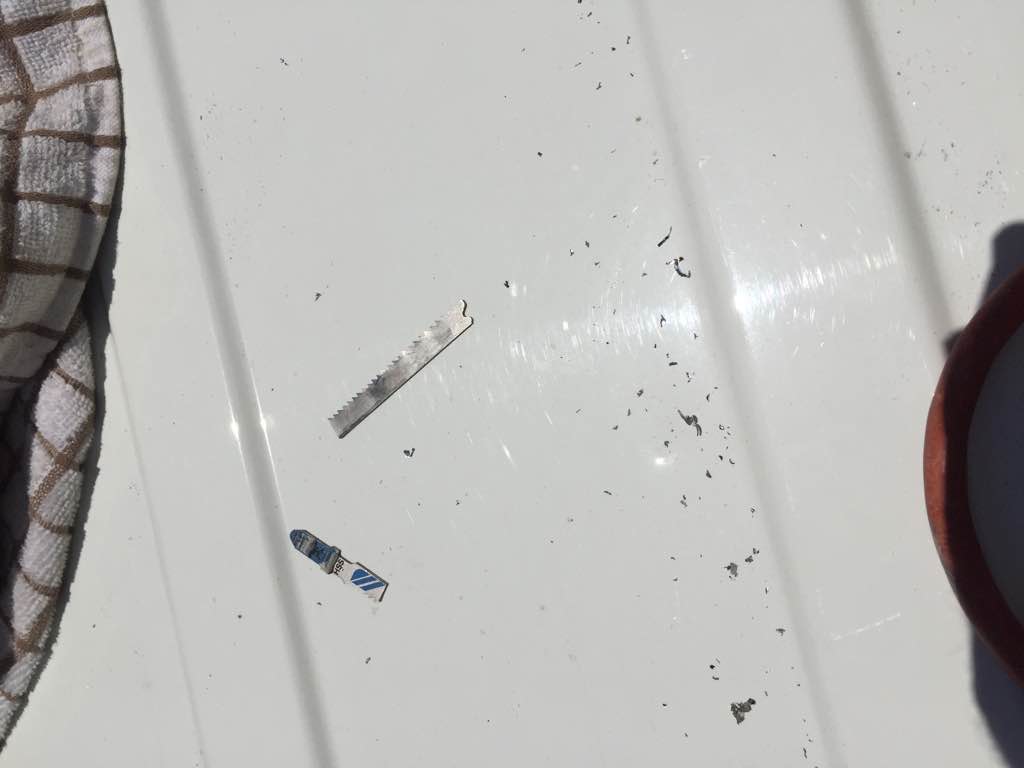
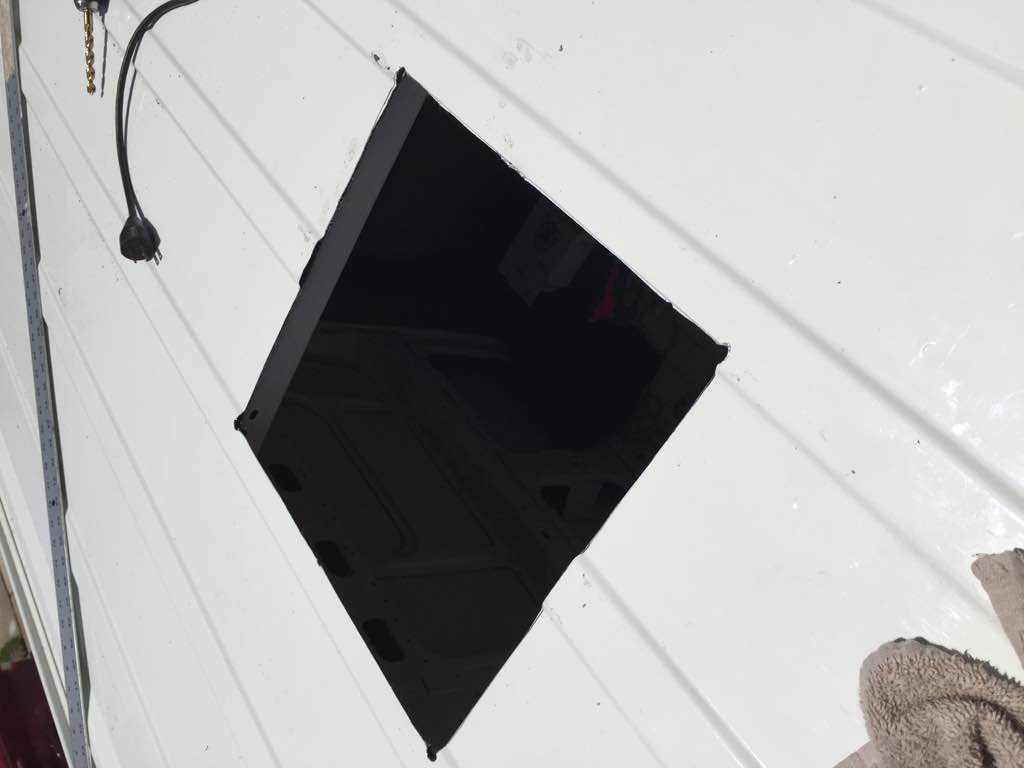
I got the jigsaw and started cutting. Since this was the first time I’ve ever cut metal with a jigsaw there were a few casualties along the way (broken blades) until I got the hang of it.
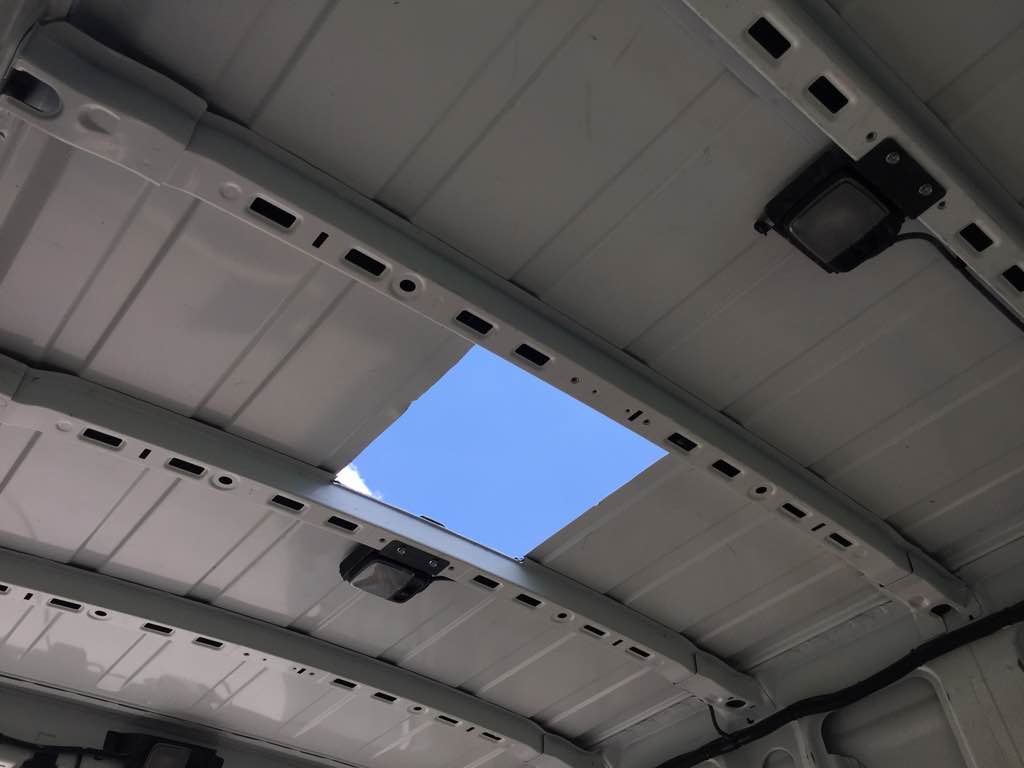
But after a while the hole was cut. Looking back I probably should’ve used the plastic flange cover that came with than to mark the outline since I overshot the side of the square by a bit but nothing that some sealant couldn’t fix. I also could’ve laid down some cardboard around the outline to catch the metal shards the came flying out since some of them hit the roof and removed the paint, I had to apply some anti-rust paint to parts of the roof.
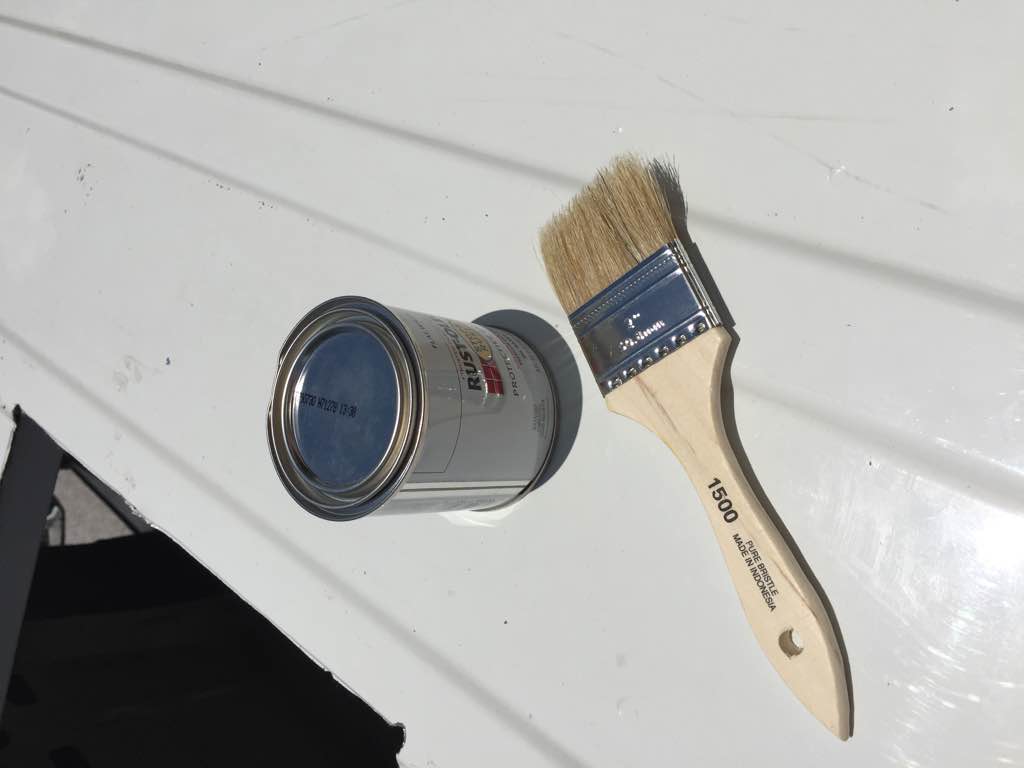
I touched up the edges of the hole with some anti-rust paint just to be on the safe side.
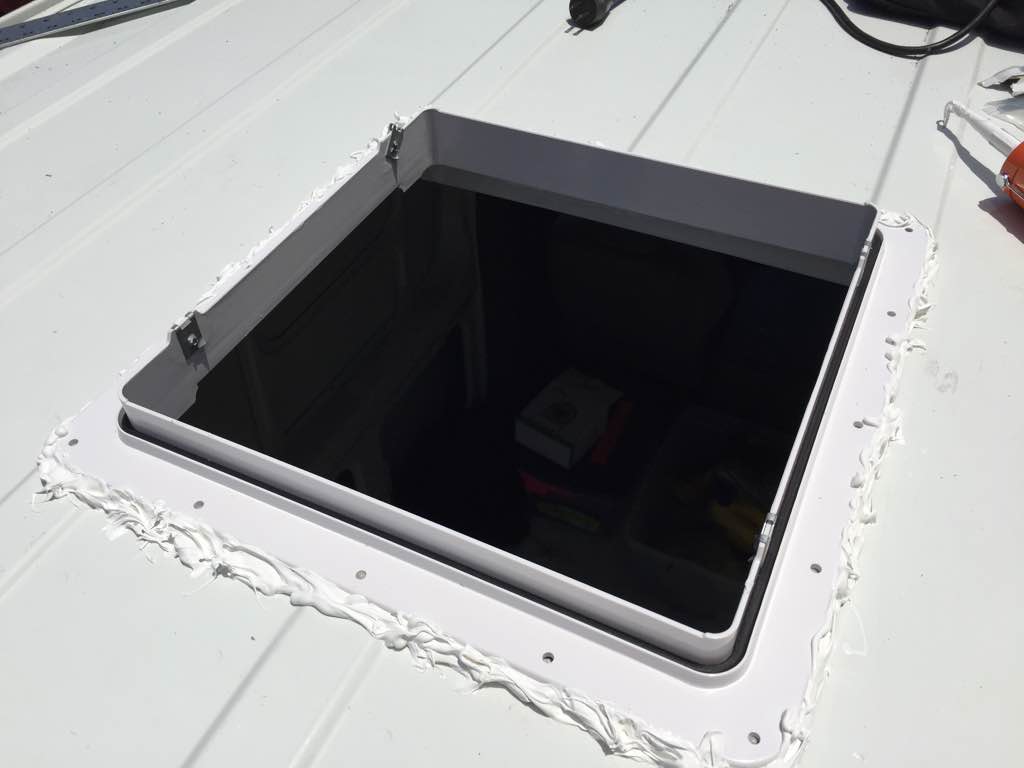
After that came time to attach the flange to the roof, I removed the painters tape, applied some (read plenty of) Dicor Butyl Tape to the bottom of the flange, placed it on the roof and applied to pressure. Since the flange was sitting between the roof ridges (I looked online for a roof adapater but couldn’t find one for the Nissan NV) after placing the flange on the roof I added more butyl tape in between the flange and the ridges to help with the sealing.
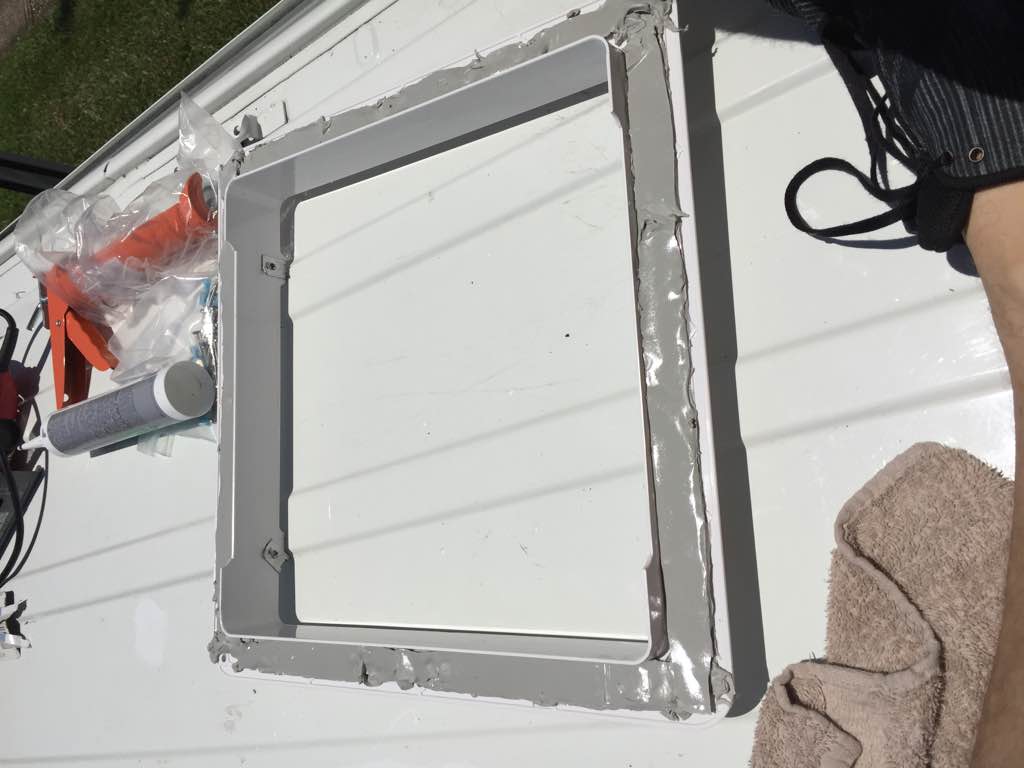
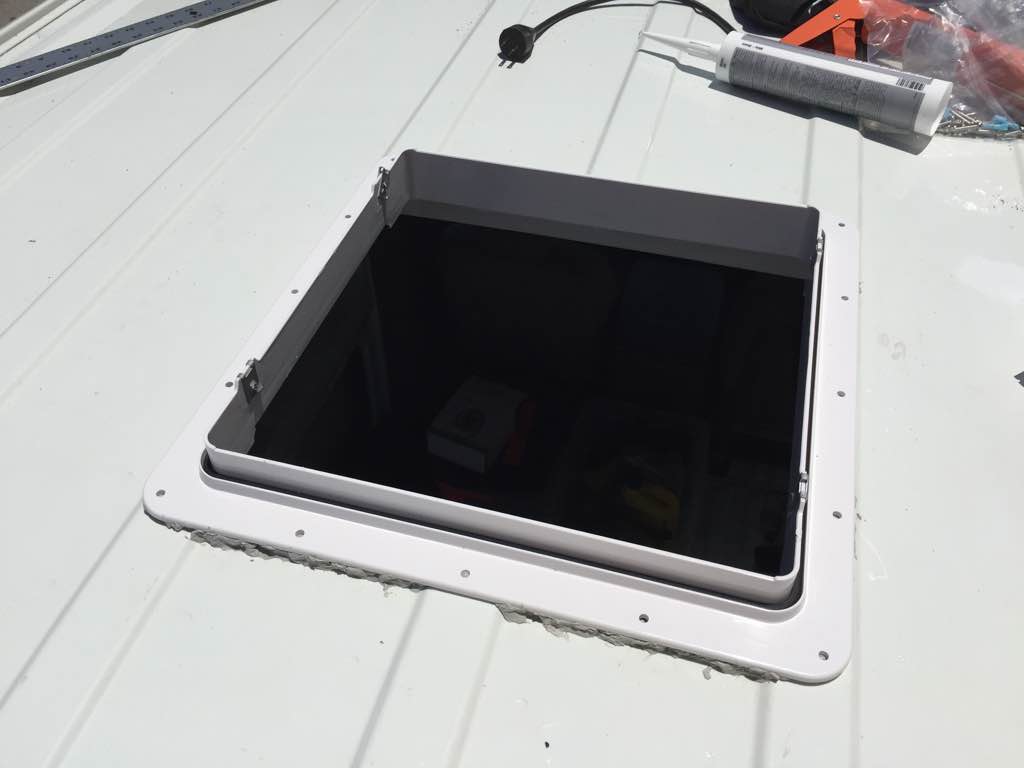
Then came time for the sealant, I read about other conversions using Dicor or Sikaflex sealant but I couldn’t find any locally so I used a different self-leveling sealant from my local Home Depot (it’s been through a few thunderstorms and the sealant is holding strong).

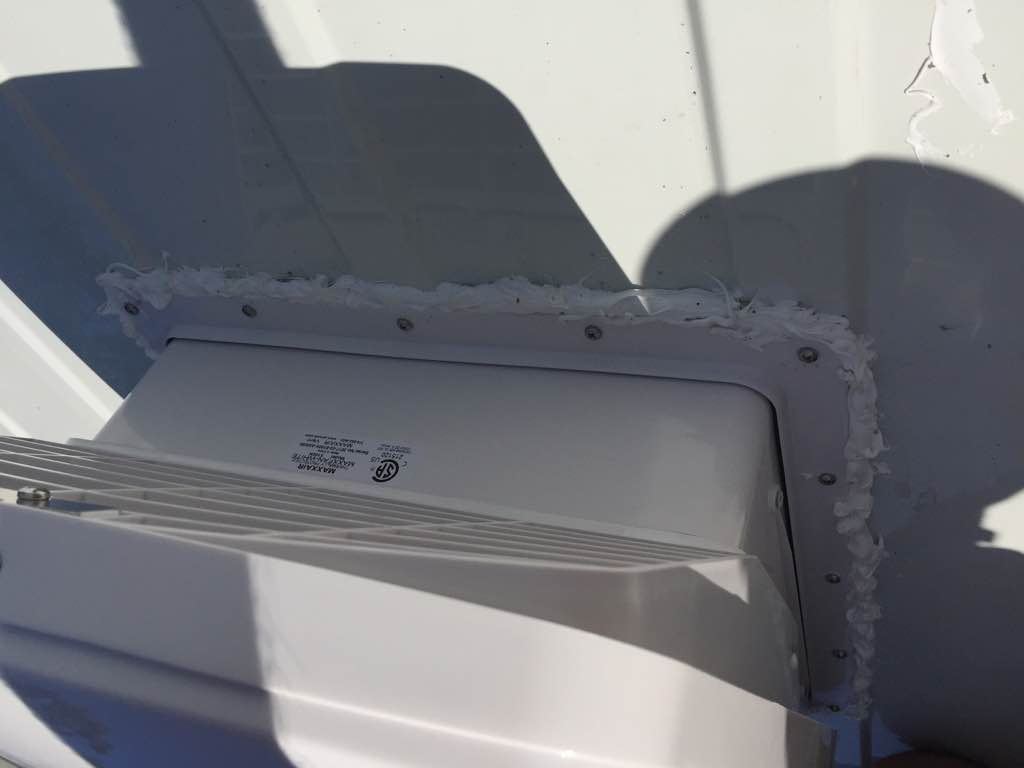
Finally came time to place the fan, I lifted the mounting clips a bit before placing it in and after mounting it put in the side screws and sealed up the space between the fan and the flange.
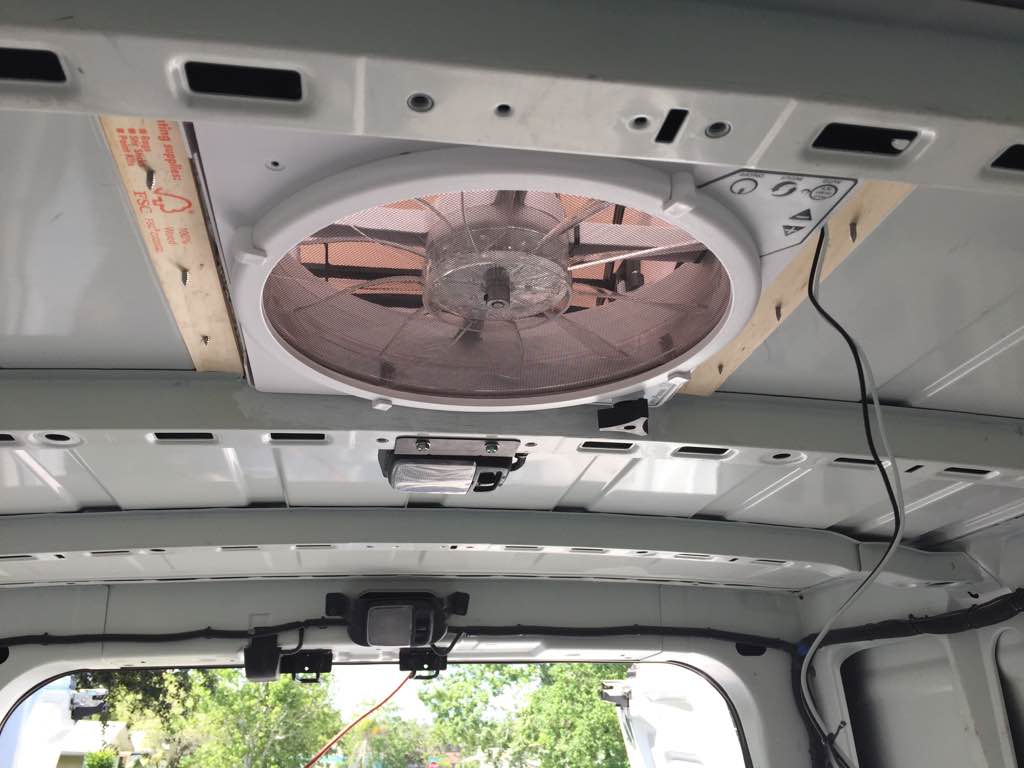
Until I’m finished with setting up the solar and batteries I’ve been running the fan with an external SLA battery that I’ve been charging outside of the van. So far so good.